Start Wizard
Create your first Principal Plan file.
Overview
The Start Wizard appears automatically when you launch Principal Plan for the first time or create a new file. It walks through three setup steps: creating accounts, defining income templates, and building an initial allocation plan (budget).
The wizard is modal. You must either complete it or click Quit Wizard to dismiss it. Every page includes a Help button that opens this help topic.
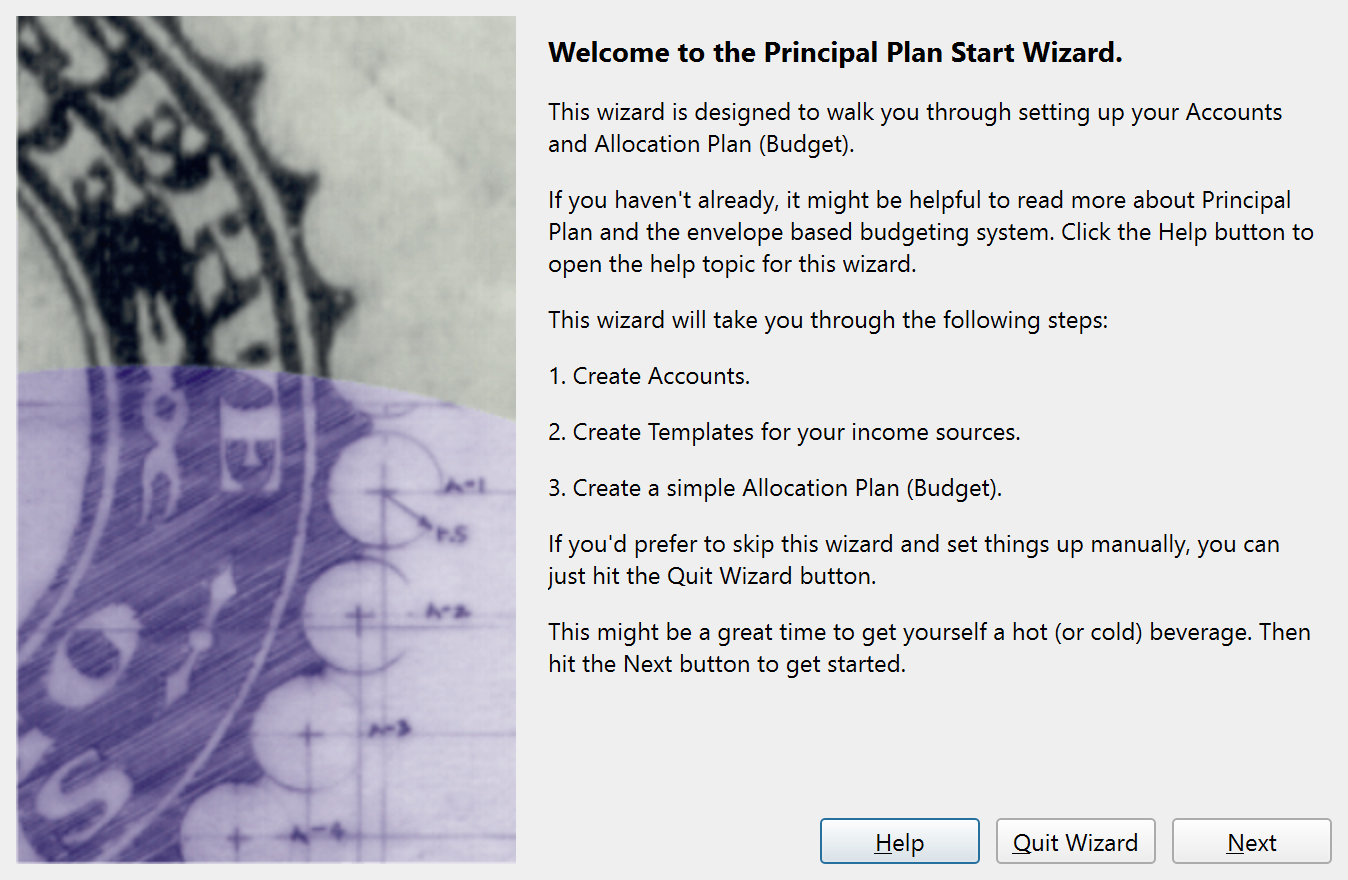
Welcome Page
The first page is an introduction. It explains the three steps the wizard will walk you through:
- Create accounts.
- Create templates for income sources.
- Create a simple allocation plan (budget).
Click Next to continue.
Accounts Page
The accounts page asks you to create at least one account record. Click Add Account to open the Account Properties dialog where you enter the account name and type. You can add as many accounts as you like by clicking Add Account again.
After you finish the wizard, open each account ledger and enter an opening transaction if you need to set an opening balance. That opening transaction should usually match the ending balance on your most recent bank statement. You can adjust account properties and balances later, so an estimate is enough to start.
At least one account is required. If you try to advance without adding an account, a warning appears and you must go back and add one.
Click Next to continue.
Income Page
The income page asks you to create income templates. Templates are reusable transaction blueprints. In this step you define your regular income sources so the allocation plan knows how much money is available to budget.
Click Add Income to open the New Allocation Plan Template dialog. For each income source, enter a name (for example, "Paycheck"), a frequency (such as once every month), and an amount. The template is automatically included in the allocation plan.
You can add multiple income templates by clicking Add Income again. This step is optional -- you can skip it and add income templates later.
Click Next to continue. The wizard creates a default set of envelopes and opens the Allocation Plan dialog so you can review and customize the budget before finishing.
Default Envelopes
When the wizard advances past the income page, it creates eleven starter envelopes with default budget percentages:
| Envelope | Percentage |
|---|---|
| Charity | 10% |
| Food | 9% |
| Housing | 25% |
| Insurance | 8% |
| Medical | 8% |
| Miscellaneous | 5% |
| Personal | 5% |
| Recreation | 5% |
| Savings | 10% |
| Transportation | 8% |
| Utilities | 7% |
Each envelope's allocation amount is calculated as its percentage of the total income defined by your templates. These envelopes and their allocations can be renamed, reorganized, or deleted after the wizard finishes.
Allocation Plan Review
After the default envelopes are created, the Allocation Plan dialog opens automatically. This shows how each income deposit will be divided across your envelopes. You can adjust amounts, add envelopes, or remove envelopes here. When you close the allocation plan dialog, the wizard advances to the final page.
Final Page
The final page confirms that setup is complete. The Quit Wizard button is hidden on this page because there is nothing left to cancel.
Click Finish to close the wizard and start using Principal Plan.
Quitting the Wizard
If you click Quit Wizard on any page before the final page, the wizard closes and creates a minimal default setup:
- If no accounts were added, a single account named "New Account" is created.
- If no envelopes were added, the eleven default envelopes listed above are created.
This ensures the application always has at least one account and a set of envelopes, even if you skip the wizard entirely.
Note: The entire help system is available as a single Markdown file suitable for teaching your favorite AI agent to be your personal Principal Plan expert. Download